Getting Started
Welcome! In the next few minutes you’ll turn an iPad or Mac into a fully-featured, professional video monitor complete with scopes and exposure tools. This guide walks you through installation, hardware setup, and first-run steps so you can begin monitoring with confidence.
System Requirements
| Device | Minimum OS | Recommended |
|---|---|---|
| iPad | iPadOS / iOS 18.x | Any iPad with a USB-C port (iPads with Lightning ports are not supported) |
| Mac | macOS 15.x (Sequoia) | Any Apple Silicon Mac (M1 or higher) |
Connecting external video sources requires a video input adapter. Supported options are mentioned Below and covered more in-depth in the section Video Input Options.
Installing CineMon
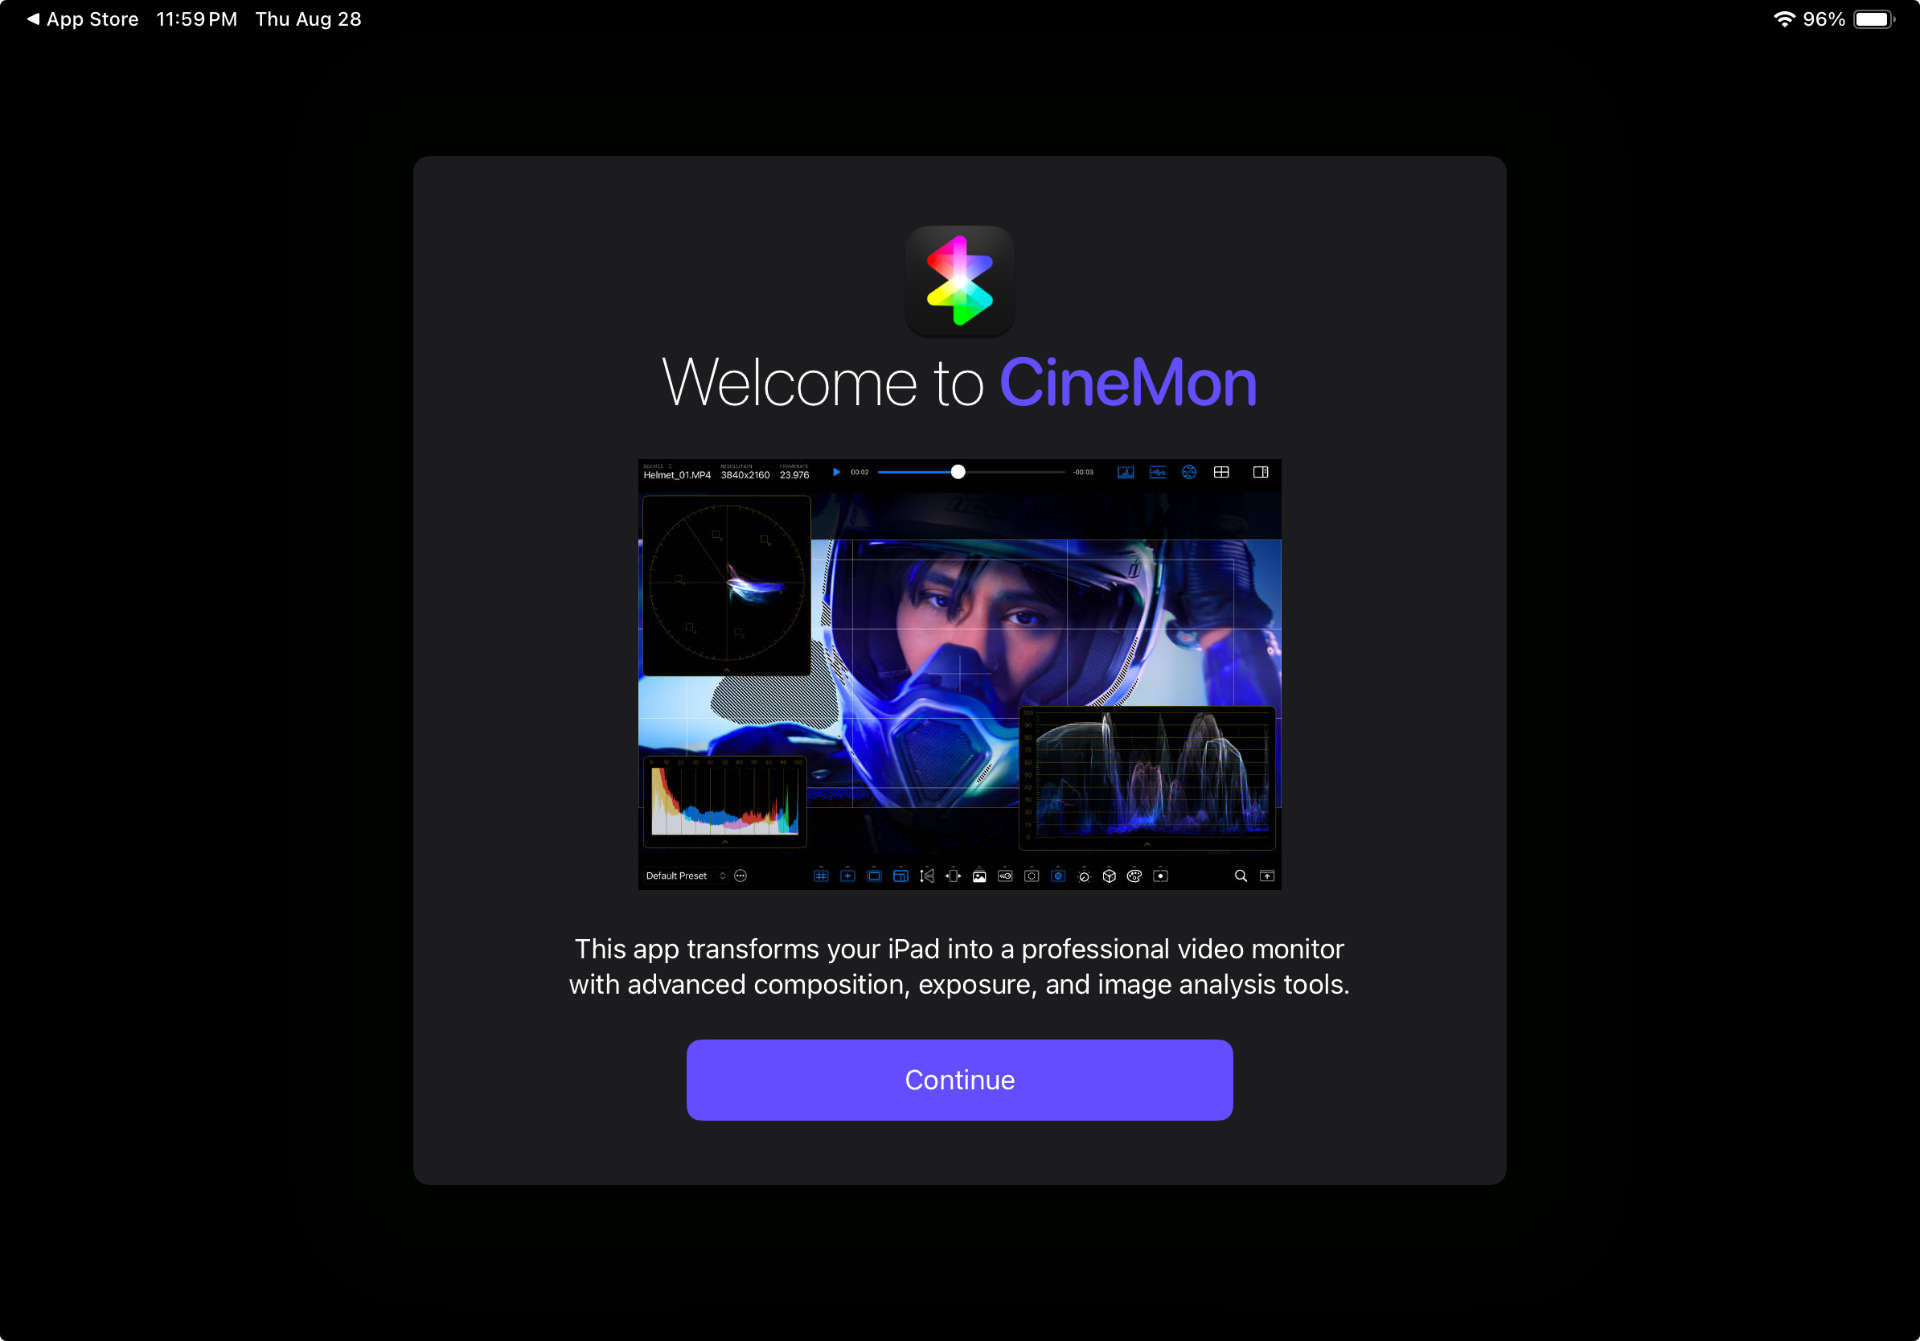
Click/Tap the following image to navigate to the App Store and download CineMon:

Choosing a Capture Interface
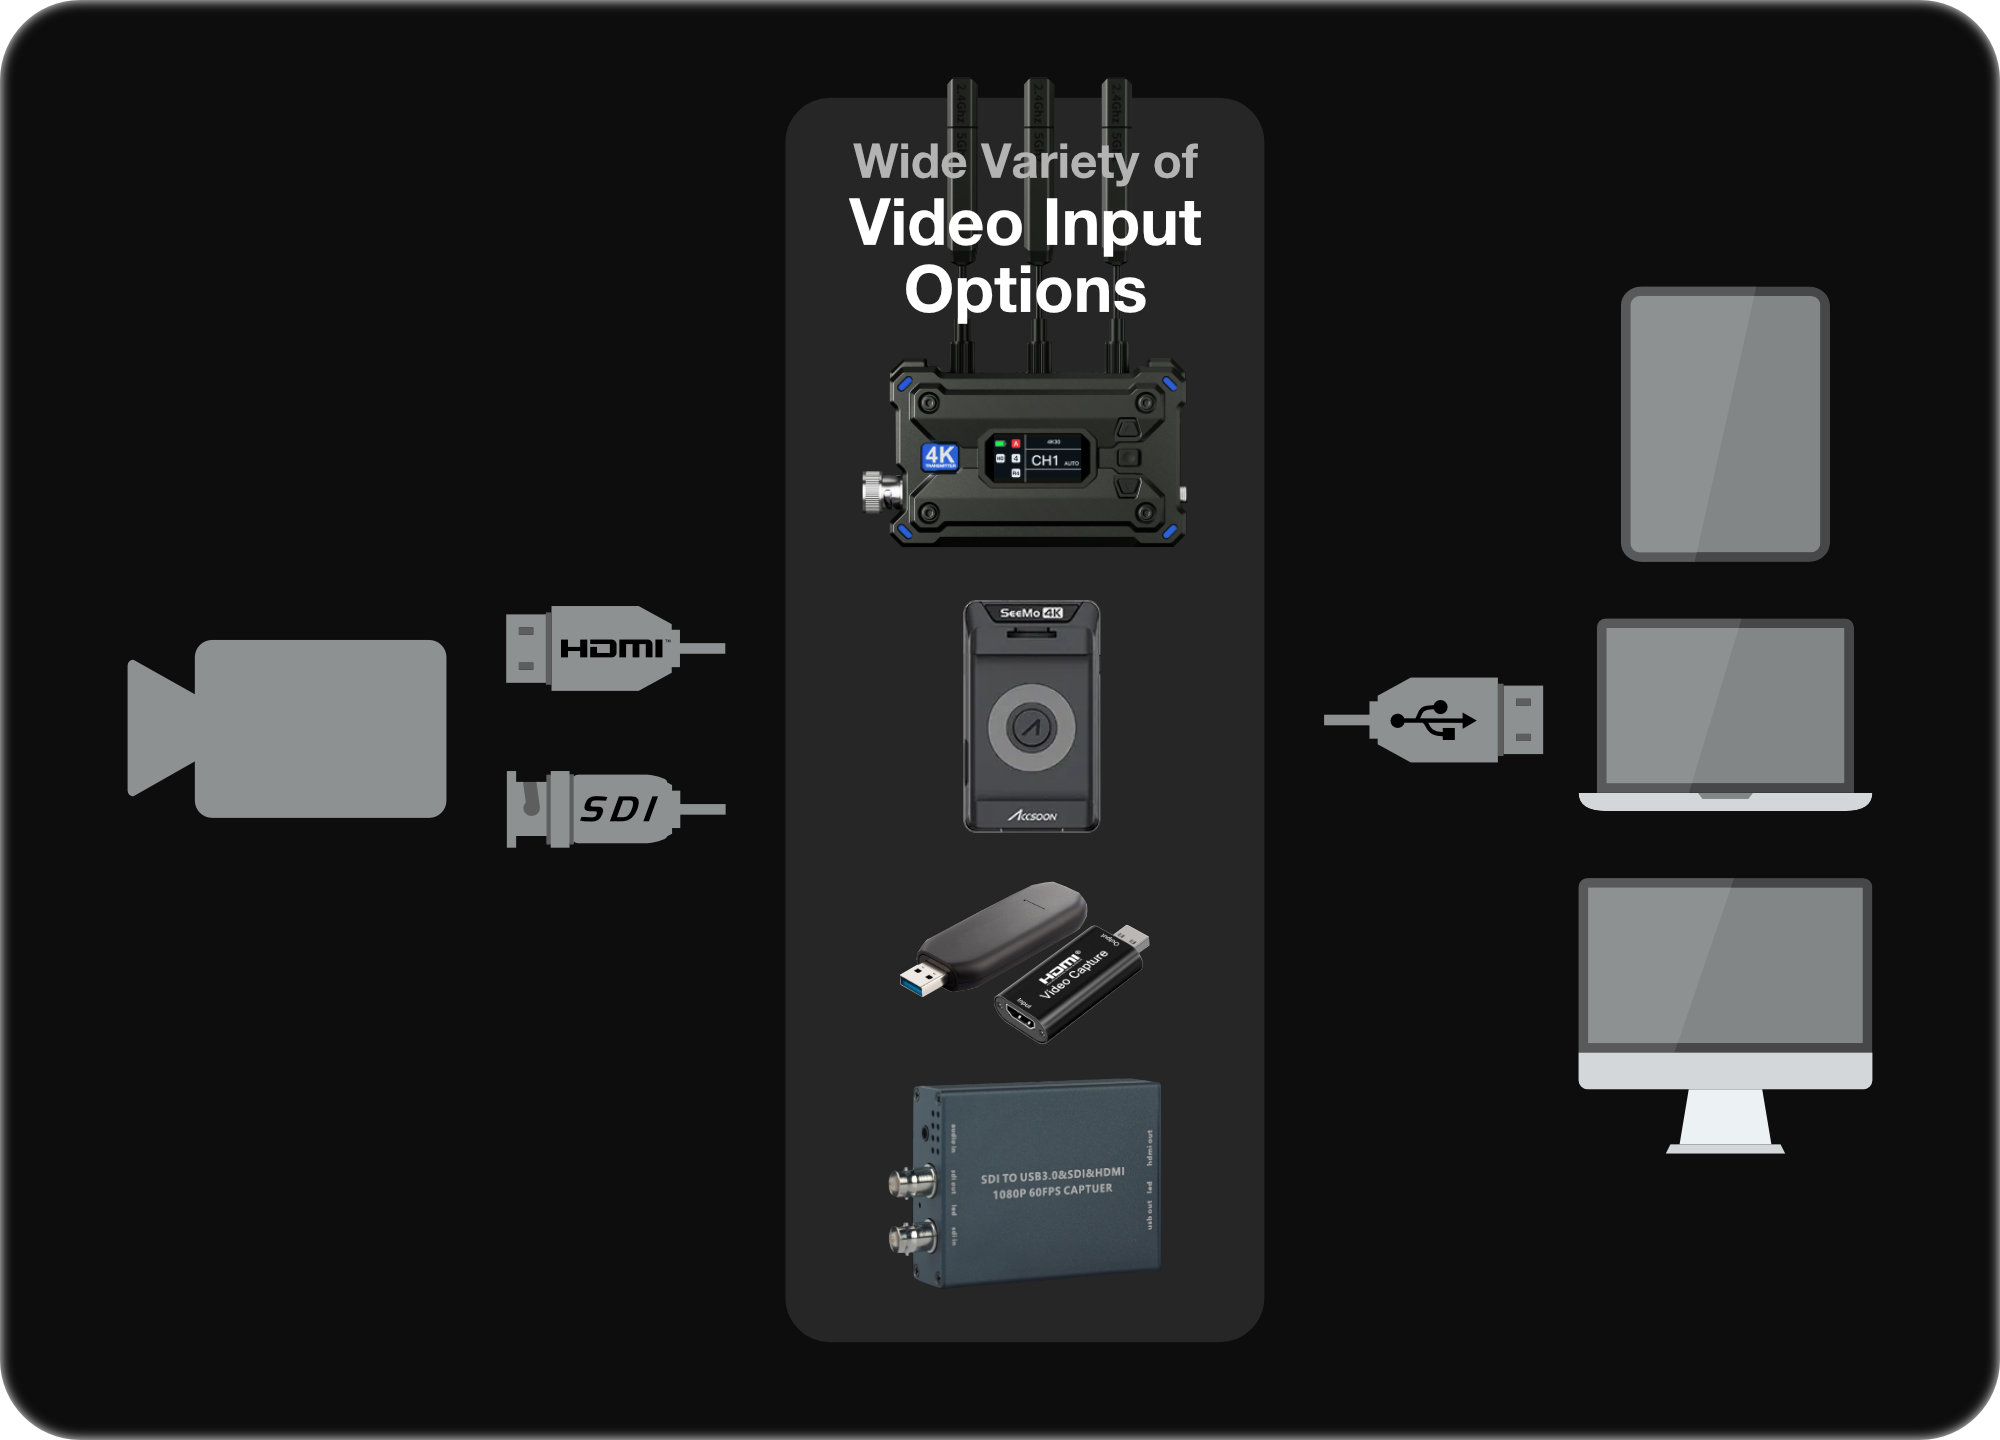
Most modern cameras output HDMI or SDI video. To connect these signals to an iPad or Mac running CineMon you need a video capture adapter/card. CineMon supports UVC-class devices, the same plug-and-play protocol webcams use. You simply connect the HDMI or SDI cable to the adapter, and the adapter to the iPad or Mac with a USB cable.
Please Note: A USB-to-HDMI cable is not the same as a video capture adapter. USB-to-HDMI cables are used to send video OUT to external monitors from your iPad or Mac. A video capture adapter is used to convert video signals INTO the iPad or Mac.
Some cameras and wireless video receivers can output UVC video directly via USB. In that case, no adapter is needed.
UVC Video Tip: If the video is visible in FaceTime it should work in CineMon.
CineMon also supports other video input options. For instance, Accsoon SeeMo devices are supported via direct integration with the Accsoon SDK. Visit the Partners Page on the CineMon website for information on supported partner products.
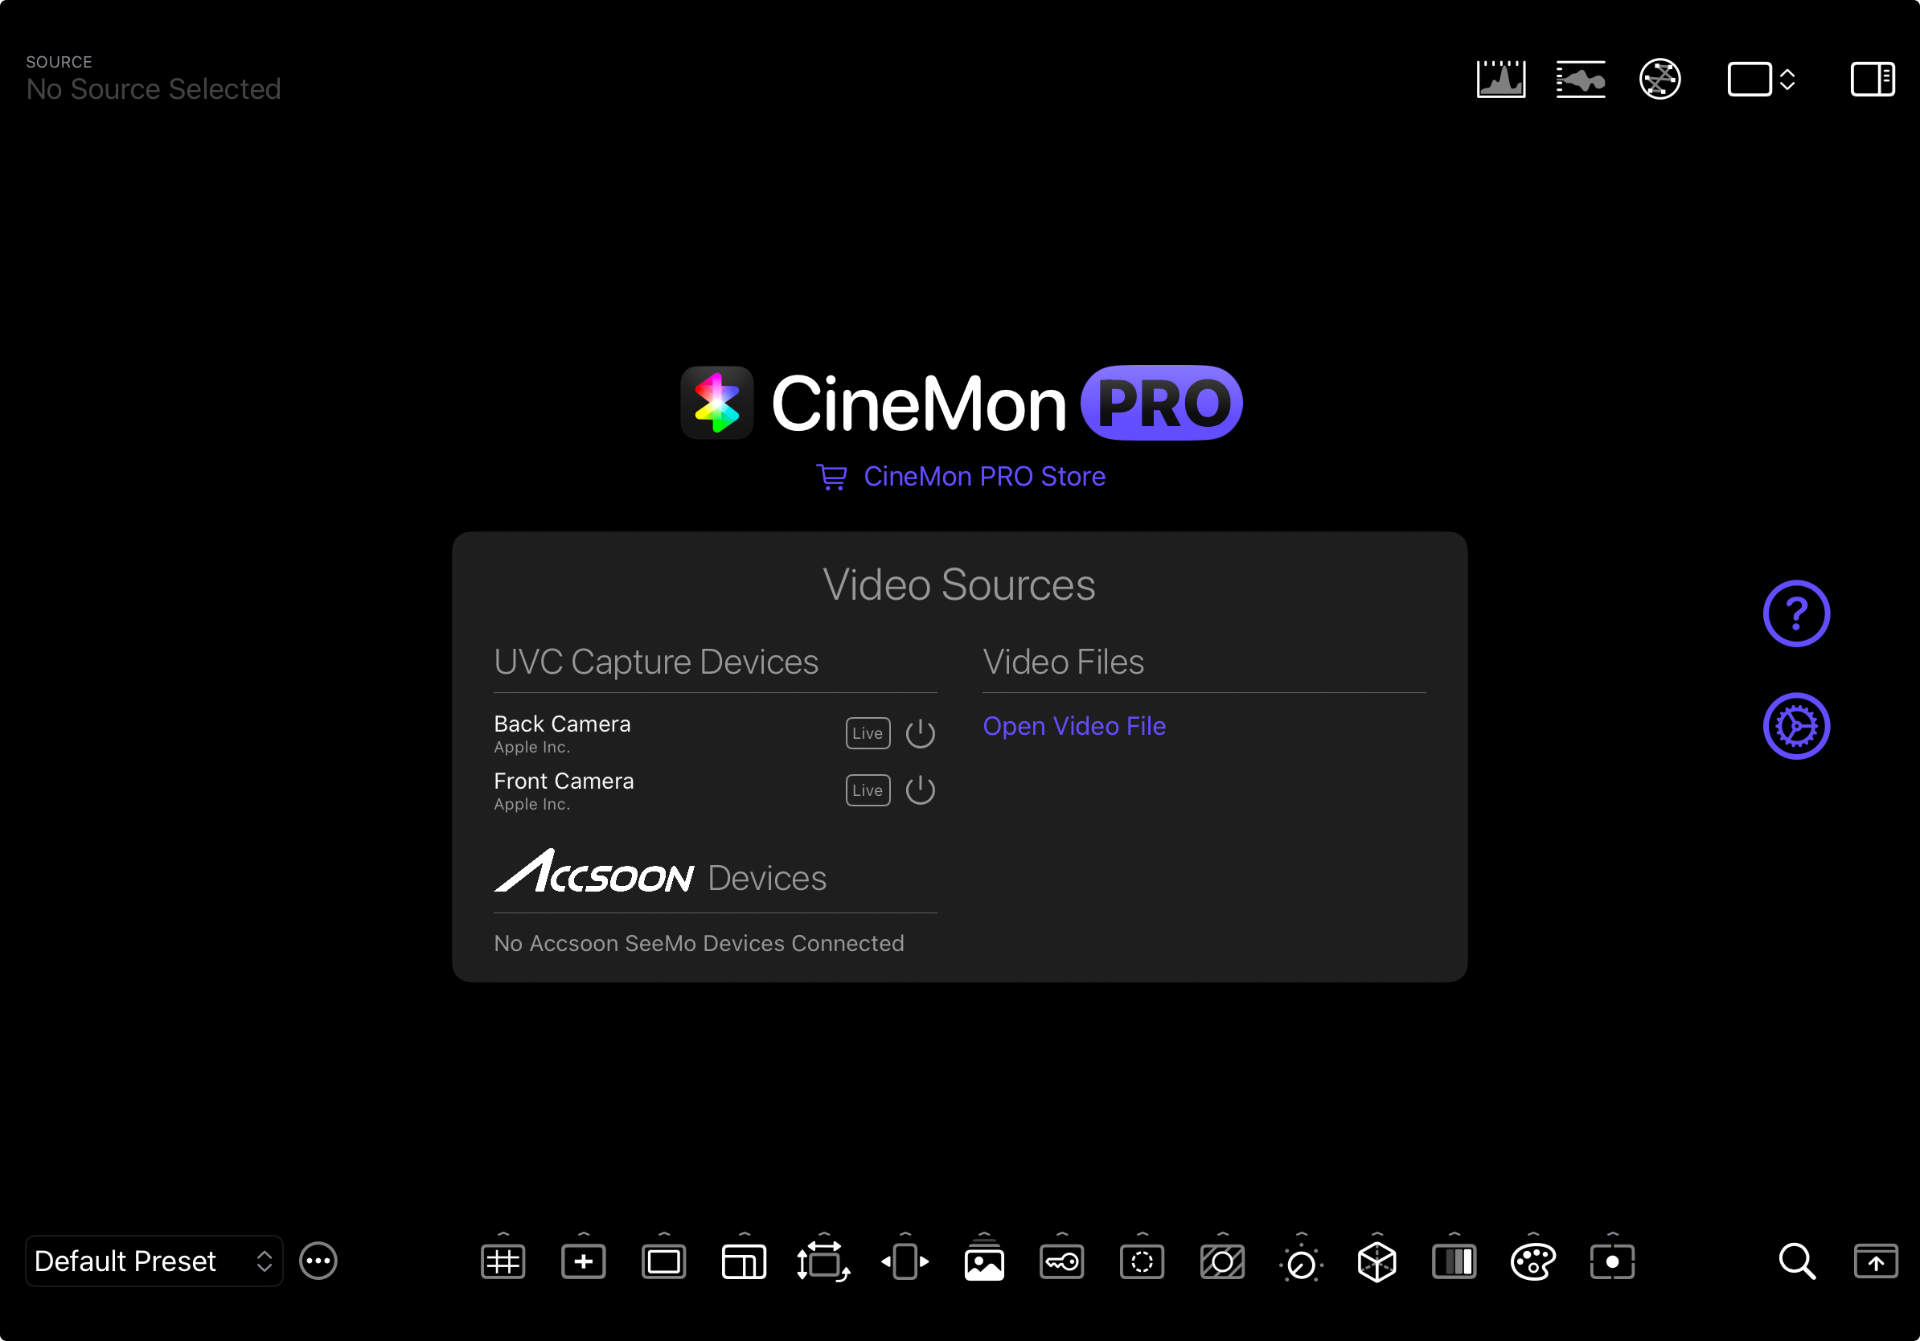
First Launch & Input Selection
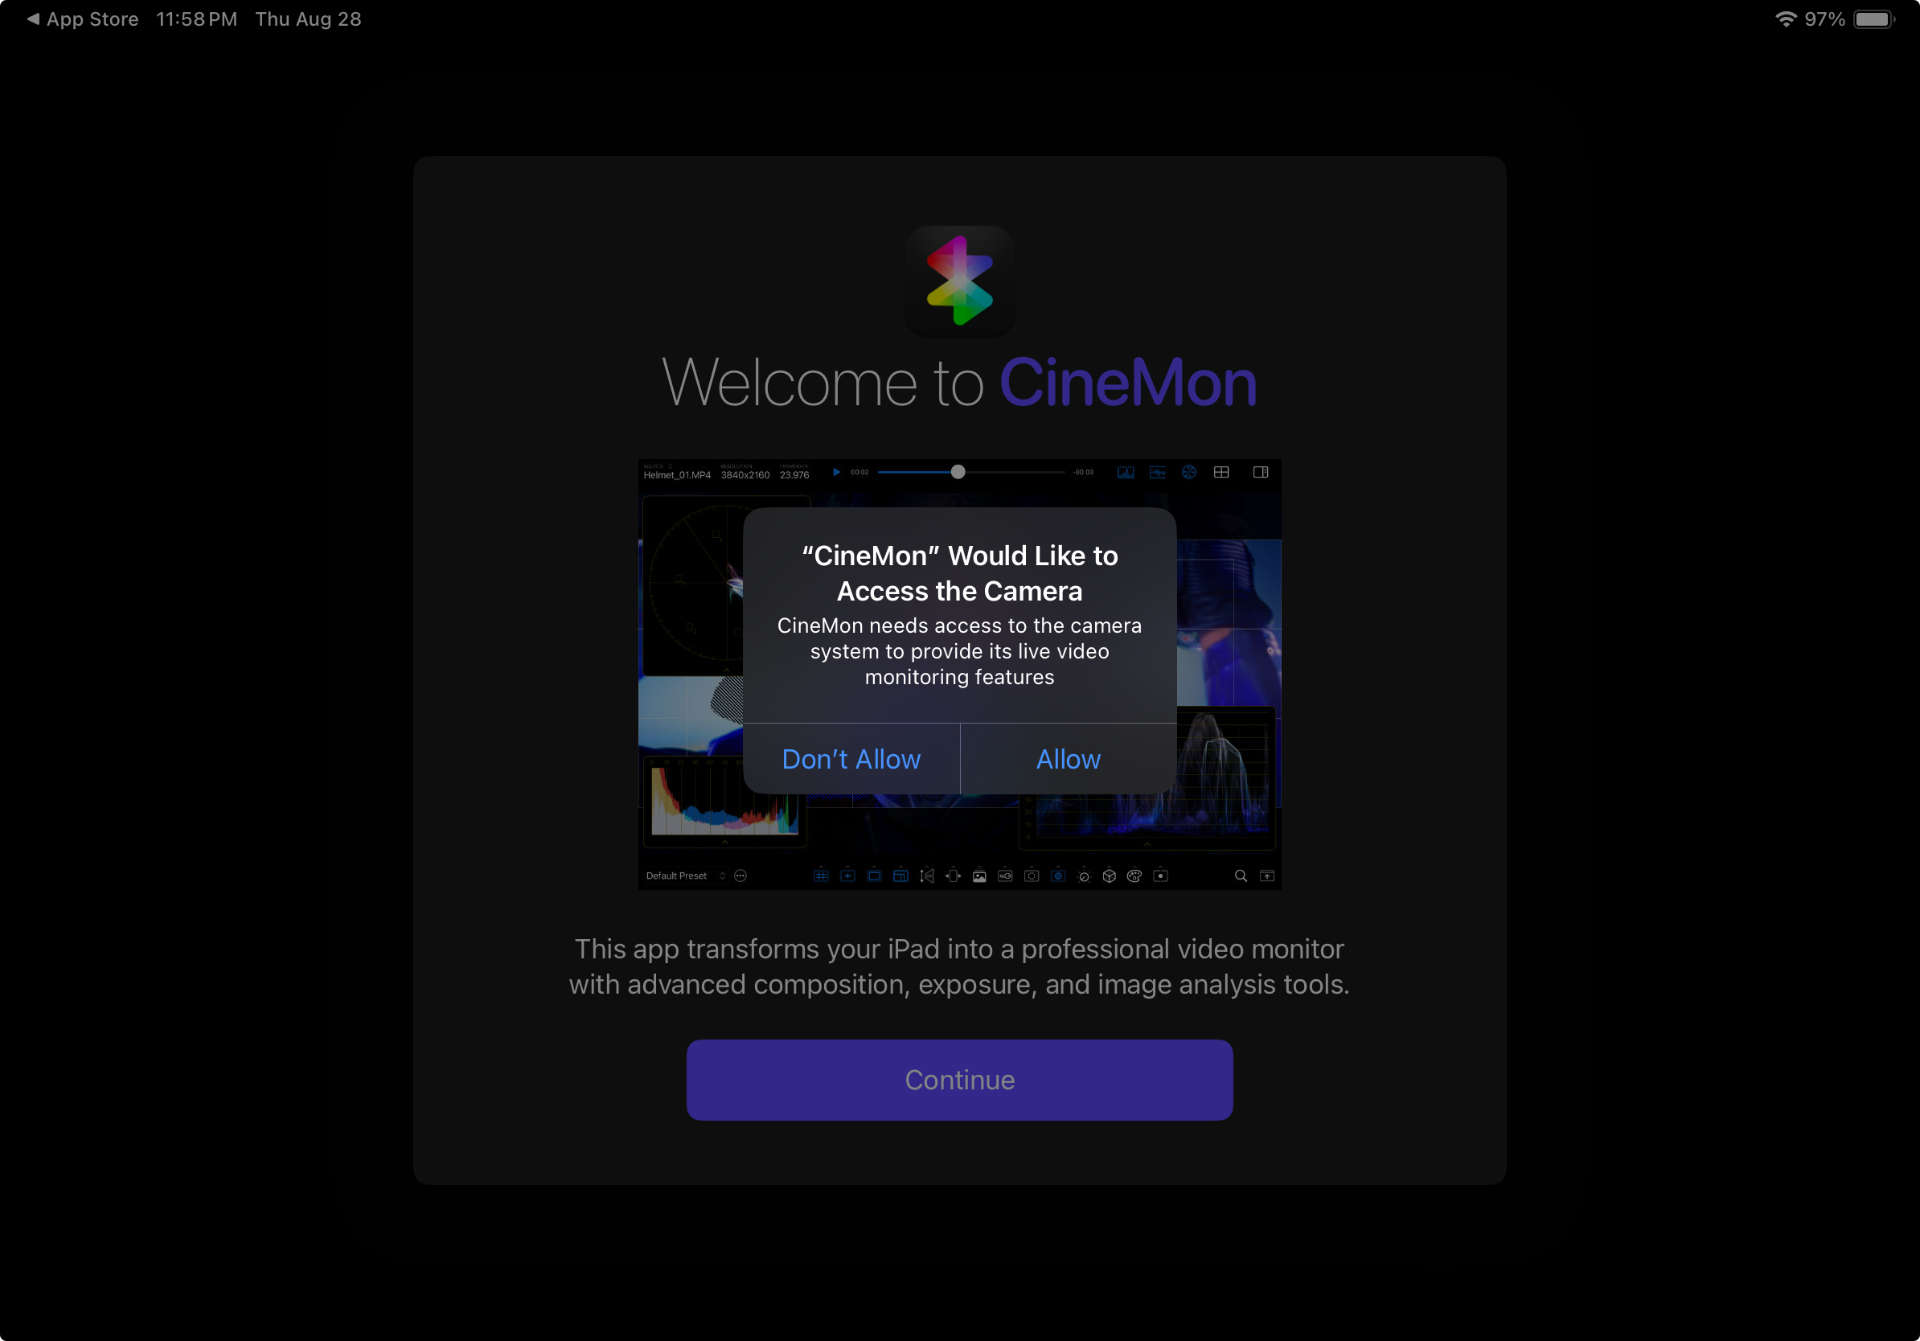
- Allow Camera system access. When you open CineMon for the first time it will ask you to grant it permissions to the Camera system. Unless you plan to use CineMon only for file playback, you should select Allow when prompted.
- Click/Tap the Continue button on the Welcome Screen.
- Explore the Help screen to familiarize yourself with the basics of the UI. Click/Tap the Help Button (?) to close the Help overlay.
- (Optionally) Connect a capture adapter to your iPad or Mac and plug your video source into the capture interface. Make sure the video source format and resolution are supported by the capture adapter.
- Click/Tap a video source from the list ⏻ to start monitoring it.
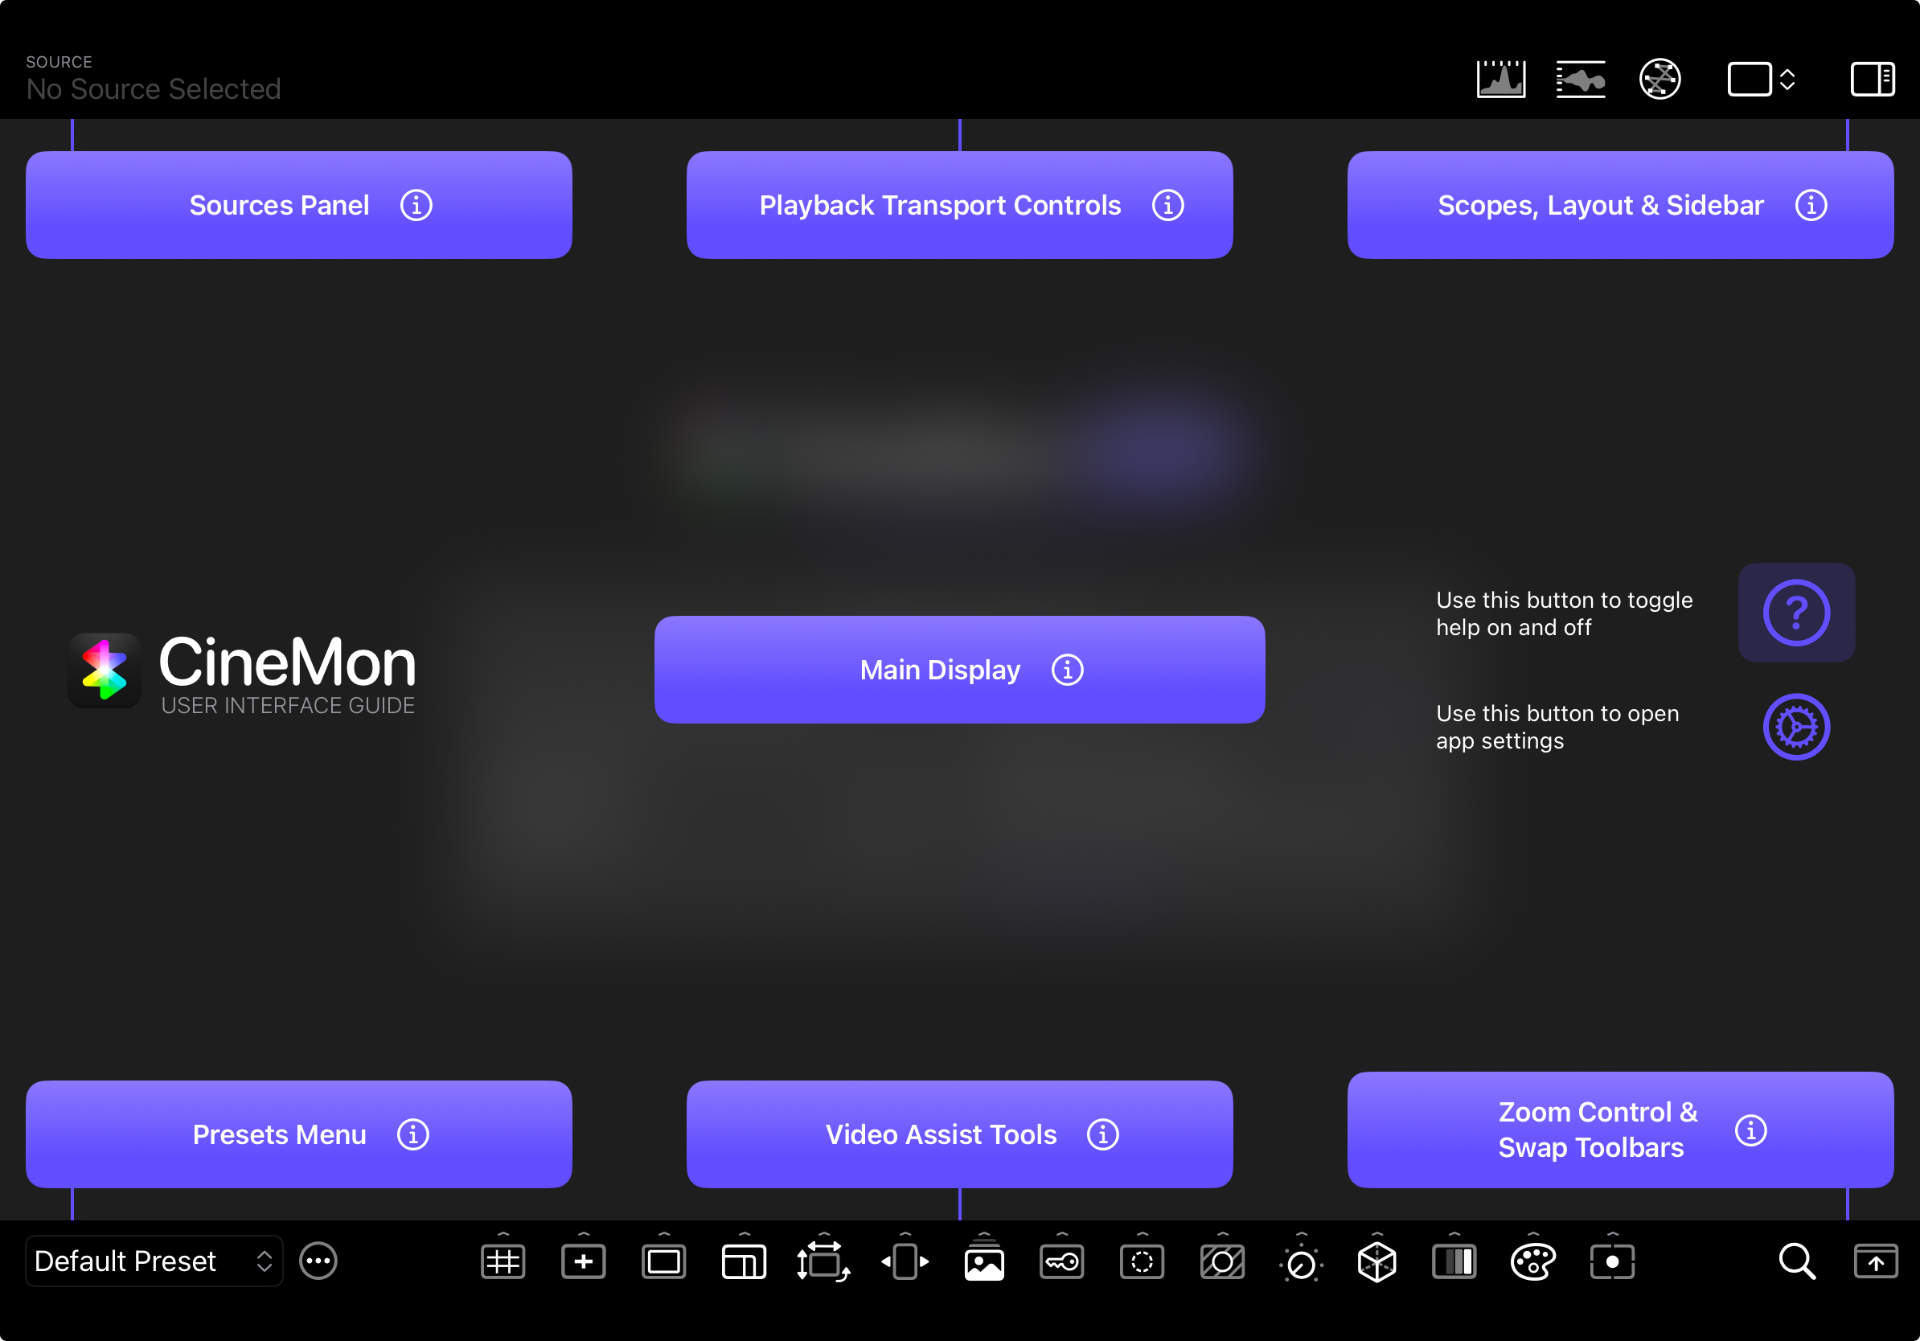
A Two-Minute Tour of the UI
- Main Display — the image viewer appears in the center panel.
- Video-Assist Toolbar — houses toggle buttons for every video assist tool.
- Slide-Out Options Drawers — iPad swipe up/down (or long-press) Mac click the options arrow of any video assist tool icon to reveal its corresponding tool options drawer. Repeat the action again to hide it.
- Presets Menu PRO — allows you to switch between presets. You can also swipe left/right on the main screen to cycle between presets (if you have that setting enabled).
- Sources Panel — shows the active source. Click/tap to open the sources panel to switch sources or turn off the source that is currently active.
- Floating Scopes Buttons — toggle the floating Histogram, Waveform, and Vectorscope.
- Layout Menu PRO — switch between Single, 2x1 (side-by-side), and 2x2 (grid) View Layouts.
- Sidebar Button — open the sidebar to access the Preset Settings and the Organizer.
- Swap Toolbars — swaps the position of the top/bottom toolbars.
- Gesture Essentials
- Double-tap the main image ➜ hide/show toolbars.
- Pinch-zoom & drag ➜ zoom into the image; a mini-map appears top-right. Drag the image or the red rectangle in the mini-map to navigate.
- Drag or Long-press a video assist tool icon ➜ reveal the tool’s options drawer.
- Swipe left/right PRO on the main display ➜ cycle through presets.
For a more detailed deep dive into the UI visit the User Interface Section
Presets Primer
If you have purchased a PRO tools bundle or the CineMon PRO Pass, all tools, scopes, and layout options can be saved as a named Preset to be easily recalled later. You can create as many presets as you need and instantly switch between them by selecting them from the Presets menu or cycling through them by using a horizontal swipe gesture (if enabled in settings). Only one Preset can be active at one time.
For a more detailed look at Presets and how to use them visit the Presets Section
Creating Your First Preset
- Click/Tap the Preset Actions menu (…) next to the preset menu and select + New Preset.
- A new Preset is created and made active. The Presets menu should now show “New Preset”.
- Turn on any video assist tool, for instance the Grid tool.
- The preset menu turns an orange color to indicate that something has changed.
- Click/Tap the Preset Actions menu (…) next to the preset menu and select Save Preset Changes.
- The preset menu turns white to indicate all changes have been saved to the active preset.
- Open the Presets Menu and switch back and forth between Presets to see the settings change.
Next Steps
- Visit the Guides to dive deeper into the rest of the app functionality.
- Dive into the Tools section to master overlays like Focus Peaking and Zebras.
- Open the Scopes section to learn when to rely on Waveform vs Histogram.
Happy monitoring, and welcome to the CineMon community!